Pretty Nails Even When Traveling!

It should come as no surprise to anyone that I packed nail polish for this long trip. I couldn’t bear to go 4 weeks without polish (or worse still, wearing the same polish until it utterly disintegrated), so I knew I had to plan accordingly. And look how long my nails have gotten! They deserve to be prettily polished, after all their hard work growing so well!

The first obvious choice was my Sally Hansen Hard as Nails basecoat- an absolute must both in terms of giving me long lasting manicures that wouldn’t chip easily and providing protection for my nails themselves, which I’ve let grow rather long. The next necessity was of course the Revlon Quick Dry Topcoat, which I love for its glossiness, durability, and indeed, quick drying ability. After thinking about it for a while. I decided against packing any fun bright summer vacation colors because I’d be stuck with them for a month. Instead, I took my 3 most favorite creamy/pinky neutrals: Revlon Embody (this is my second bottle, that's how much I love this color) and Sally Hansen Rose Quartz and Powder Room (which I have been using nonstop since I wrote about them in this blog post). All three of these polishes are solid staples in my nail polish rotation and while you might think it’s boring to pack three neutral colors, they’ve been great because they match all the clothes I packed, always fit my mood, and look decent even with a chip or two (in case I don’t have time to immediately redo my nails the way I normally would.
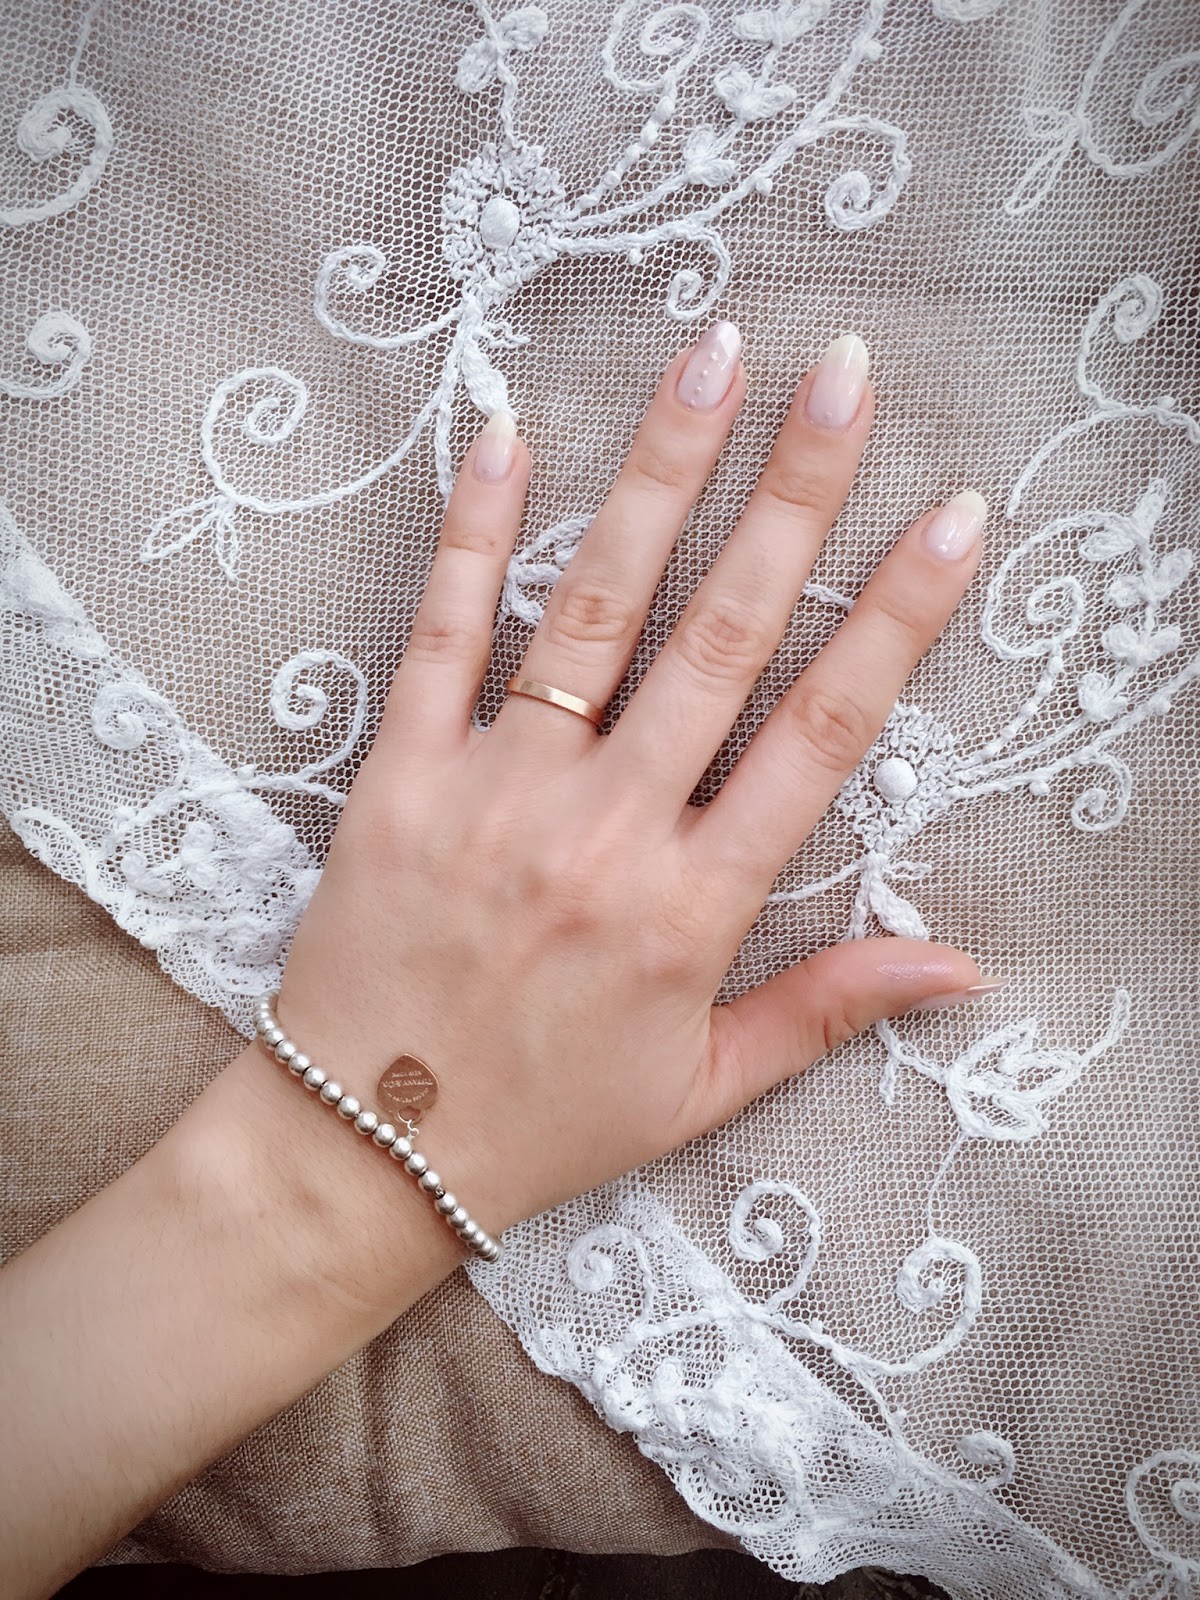
For the past three weeks I’ve been pretty pleased switching between solid manicures in these three shades, or occasionally layering them (Embody and Rose Quartz are a nice combo). Today however I felt a little bored with my plain nails and I wanted to jazz them up a little. I already had on two coats of Revlon Embody (applied yesterday), so I decided to try out a little design using Sally Hansen’s Powder Room (which is both pearlescent and pinkish so it provides the most contrasts out of my color options.


I'd like to end this post with what I consider a really clever nail polish hack, especially when traveling. If you find yourself stuck without nail polish remover but you have a desperate need to remove your nail polish, paint over your nails with a thick coat of clear polish. Then, quickly use a paper towel to wipe it off. I swear, it comes right off! Do one nail at a time so that the clear coat doesn't have time to set, and you'll end up with clean nails. Then you're free to give yourself a fresh manicure!
*** This post is not sponsored in any way. The Amazon links may earn my a small commission if you click and make a purchase but there is no additional cost to you.***


Comments
Post a Comment